The .ass Subtitle Workflow for Pro Editors
Why exporting Advanced SubStation Alpha files beats relying on baked-in MP4s or basic SRTs for professional post-production.
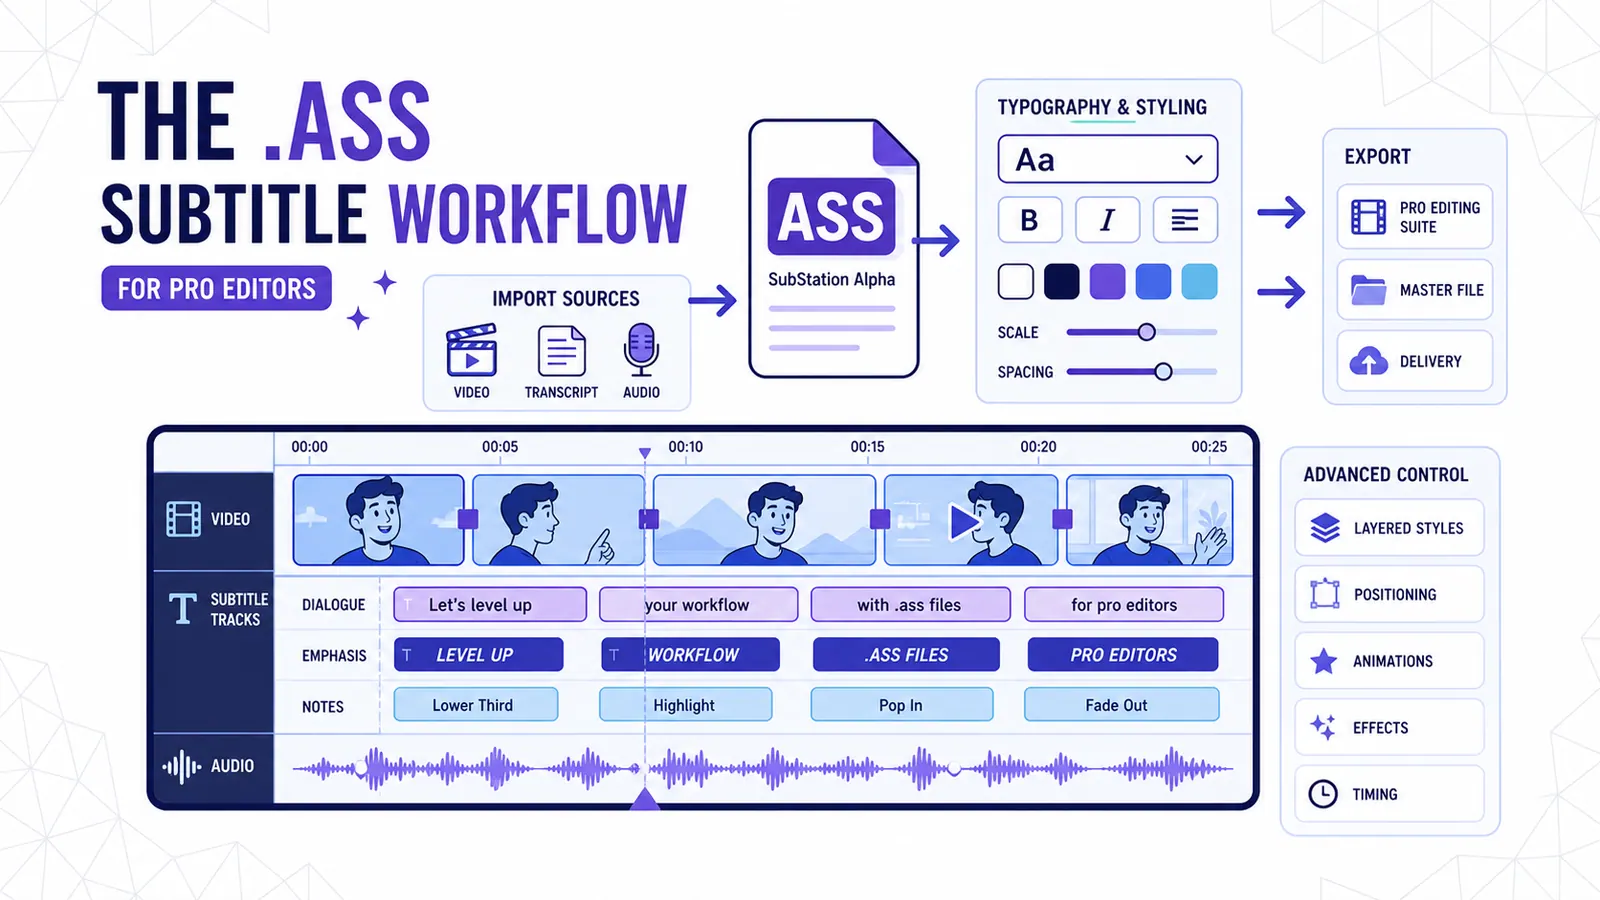
Professional video editors despise baked-in subtitles. We spend hours color grading an interview in DaVinci Resolve or mixing complex audio tracks. Getting a finalized video from a client with bright yellow captions permanently burned into the pixels forces us into a corner.
We cannot fix a minor typo. We cannot adjust the font size to accommodate a corporate lower third. We lose total control over the deliverable.
The basic .srt format offers a text-only alternative. It holds line timestamps and basic text blocks. You import an .srt into your editor, yielding plain white text sitting statically at the bottom of the screen.
All the dynamic word-level captions you see on modern platforms disappear entirely.
This leaves us with Advanced SubStation Alpha files. The .ass extension might draw giggles from junior staff, but veterans know it represents total technical control. This format carries the exact text strings and holds specific timing for every single syllable.
It retains font faces, hexadecimal colors, precise positioning data, and drop shadow depth. We built CapzAi to generate these files automatically. You pay your 20 credits per minute on export.
You get the baked MP4 alongside the raw .ass file. This specific workflow gives you the instant gratification of a ready-to-post video plus the absolute control of an editable project file. I want to examine exactly how to use these files in a high-end post-production environment.
The Mechanics of Advanced SubStation Alpha
Inspecting the File Structure
Most video editors never open a subtitle file in a basic text editor. You absolutely should. Right-click any .ass file on your hard drive and select "Open with Notepad" on Windows or "TextEdit" on macOS.
You will immediately see three distinct blocks of data structure. The first block is labeled [Script Info]. This sets the mathematical rules for the entire document by defining the original video resolution parameters.
If you used CapzAi for the auto-clipping of long videos specifically for vertical platforms, the script info explicitly shows PlayResX: 1080 and PlayResY: 1920. This ensures your text coordinates map perfectly to your video frame regardless of the media player used for playback.
Modifying Global Styles
The second block is [V4+ Styles]. This serves as the CSS stylesheet for your video project. Every CapzAi preset generates a highly specific style line here.
If you select our viral pop preset, CapzAi writes a style line defining a heavy sans-serif font, a thick black outline, a specific drop shadow distance, and a bright yellow active color. The code specifies the exact hexadecimal color values, vertical padding, horizontal margins, line spacing, and stroke width.
You can change the base font from Montserrat to 64pt Inter Bold right here in the plain text document. You completely skip opening your heavy editing software to make global typography changes across a fifty-minute video.
Controlling Word-Level Timings
The third block contains the [Events]. This is the actual timeline tracking data where each individual line of spoken dialogue gets its own dedicated row.
In a standard format, a line looks like 00:01:23,400 --> 00:01:25,100. It merely tells the player when to show the full sentence. Advanced SubStation Alpha goes significantly deeper by utilizing override tags inside curly braces.
When CapzAi generates word-level timing data, it injects {\k} tags before every single isolated word. The letter "k" stands for karaoke, and the integer following the letter represents centiseconds. The string {\k40}Hello means the word "Hello" remains highlighted on screen for exactly 400 milliseconds.
This gives pro editors granular control over the visual pacing. If a speaker stumbles or drags out a syllable for dramatic effect, the file mathematically represents that exact delay.
If you disagree with our server's automatic timing on a specific visual punchline, you just change the number 40 to an 80 and hit save. The animation instantly updates.
The CapzAi Export Architecture
Rendering Text Presets
When you finalize a video timeline at your projects dashboard, the CapzAi rendering engine takes over the processing. We deliberately separate the audio phoneme analysis from the visual text rendering.
First, our speech-to-text models map the exact audio waveforms. Then, the layout engine applies one of our viral caption presets, including karaoke, classic, docu, and creative text layouts.
Each distinct preset generates a radically unique .ass file structure. The classic preset resembles traditional broadcast television closed captions by relying on a semi-transparent black background box with simple white text.
The viral pop preset requires aggressive mathematical scaling animations. The text physically pops onto the screen while the active word changes color. The previous words shrink slightly to maintain visual focus on the current syllable.
Managing Transform Tags
To achieve this effect mechanically, the CapzAi engine writes complex transformation tags directly into the events block. It uses {\t} for time-based animation curves.
It also uses {\fscx} and {\fscy} to control the horizontal and vertical scale percentages over specific millisecond durations. A single word popping onto the screen might require thirty characters of formatting code. We handle all that complex trigonometry on our servers.
The Dual-Delivery Workflow
You pay your flat rate on export. For that exact cost, the server hands you a compressed zip archive.
Inside this archive, you find your final baked MP4 video and the master .ass file. This dual-delivery system solves a massive post-production bottleneck.
You can immediately upload the baked MP4 to your social channels. If your creative director texts you five minutes later asking to change the brand color from yellow to neon green, you avoid re-rendering the entire heavy video file.
You open the .ass file, run a basic find-and-replace command on the hex code, and save the text file. You are done in thirty seconds.
Multi-Language Pacing and Text Directionality
Syncing Translated Audio
When you apply CapzAi's AI voice dubbing feature, you introduce a massive timing complexity into your workflow. English is a fast, dense spoken language. French requires roughly twenty percent more syllables to express the exact same conceptual meaning.
Arabic introduces entirely different pacing structures depending on the specific regional dialect spoken.
If you take a one-minute English vlog and dub it into French using our AI tools, the audio track physically stretches. A sentence taking exactly four seconds in English might take five and a half seconds in French.
Using a standard .srt file generated from the original English video would force you to manually ripple-edit every single caption block to match the new French audio timing.
CapzAi handles this time-stretching automatically. When you request a French dub, our engine recalculates the phoneme mapping against the newly generated synthetic audio. It generates a brand new .ass file timed directly to the AI voice so the karaoke highlighting matches the synthetic French syllables perfectly.
This provides a massive logistical advantage for international content distribution. You upload one primary English video and click a few configuration buttons.
You receive distinct video files and distinct text files for English, French, Arabic, and Darija. Each individual subtitle file contains mathematically precise timing tags mapped to its respective local audio track.
You drop the French audio, the original footage, and the French .ass file onto a fresh timeline. Everything syncs flawlessly.
You avoid spending four tedious hours sliding text blocks around to match translated audio waveforms. You can read more about automating your localization workflow on our engineering blog.
Right-to-Left Formatting
Right-to-left languages break almost every basic subtitle editor on the market. If you paste an Arabic text string into a cheap web-based captioning tool, the punctuation marks end up on the wrong side of the sentence.
The individual letters disconnect from each other. The logical word order flips unpredictably during line breaks.
The .ass format supports explicit mathematical text directionality. CapzAi properly encodes the required RTL layout strings for Arabic and Darija.
We set the correct grid alignment tags, where {\an} controls spatial grid alignment. {\an1} sits in the bottom-left corner while {\an3} sits in the bottom-right corner. {\an2} sits precisely in the bottom-center.
For RTL languages, we dynamically adjust these coordinate anchors to ensure the text flows naturally from the right side of the screen toward the left.
Software Engine Requirements
You must ensure your local editing software supports complex text rendering engines. Premiere Pro requires you to explicitly enable the Middle Eastern text engine in your application preferences.
If you skip this mandatory step, Premiere will scramble the Arabic .ass file upon import. Resolve handles RTL text natively without requiring special preference toggles.
When you use our docu preset for Arabic text, the cinematic typewriter reveal effect moves correctly from right to left. The underlying code animates the {\clip} rectangular mask in reverse.
You get a perfect text reveal respecting the native reading direction of your target audience. You never have to manually reverse text strings or fight with broken character joining issues.
The DaVinci Resolve Pipeline
Importing the Subtitle Track
DaVinci Resolve handles .ass files better than any other mainstream non-linear editor on the market. Blackmagic Design integrated true native support for the format starting in version 18.
First, you complete your primary edit. Grade your raw footage and mix your audio tracks. Finalize your graphic overlays and lock your picture.
Once your picture is locked, go to the Media Pool and select the import subtitles option to bring in the .ass file CapzAi provided. Resolve instantly creates a dedicated subtitle track on your active timeline.
You drop the file onto the new track. Resolve immediately reads the [V4+ Styles] block data to apply the correct fonts, specific colors, and numerical margins. The word-level karaoke timing translates perfectly to the viewer.
Fixing Coordinate Scaling Errors
Resolve occasionally overrides specific spatial coordinate data if your project settings conflict directly with the subtitle file's internal resolution tags. If you notice your CapzAi captions sitting too low on the screen, check your master timeline resolution.
A vertical 1080x1920 timeline requires an exact mathematical match in the PlayRes tags of the text file. If these two numbers mismatch, Resolve scales the text block unpredictably.
You fix this scaling error directly in the Resolve inspector window. Click on the subtitle track item, navigate to the Track Style tab, and manually override the imported position data by adjusting the vertical Y-axis slider.
Custom Node-Based Animations
For extreme visual control, high-end commercial colorists convert the basic subtitle track directly into complex Text+ nodes on the Fusion page. This breaks the file down into individual Fusion compositions.
You lose the ease of managing a single text document, but you gain the ability to apply particle effects to specific syllables. If a client wants digital fire shooting out of the word "spicy," you convert that specific subtitle clip to a Fusion clip.
You add your particle emitters to the node tree and render the cache.
The Adobe Premiere Pro Pipeline
Essential Graphics Limitations
Adobe Premiere Pro has a complicated and often frustrating relationship with .ass files. Adobe officially claims to support importing the format, but the daily reality involves specific technical hurdles that pro editors must bypass.
When you import a CapzAi generated file into Premiere, the software places the item in your project bin as a standard caption asset. You drag this item onto your active timeline to create a dedicated caption track.
It reads the raw text strings and block timestamps perfectly. However, it completely ignores the advanced mathematical styling tags.
Premiere prefers to force all subtitles into its proprietary Essential Graphics panel ecosystem. If you rely heavily on the CapzAi viral pop preset with aggressive bounce animations, Premiere aggressively strips those animations out during a native import. The text appears completely static on screen.
The Alpha Channel Workaround
Professional editors bypass this Adobe limitation by using third-party conversion tools. The most reliable approach involves using the free Aegisub application to render a transparent alpha channel video overlay.
You download Aegisub from its open-source repository and open your file in the interface. You export the file as a QuickTime ProRes 4444 video containing a transparent background. Aegisub renders all the complex karaoke animations, deep drop shadows, and custom fonts perfectly.
You take this massive transparent video file and drop it on track V2 in your Premiere timeline. Your original camera footage sits untouched on track V1.
This specific workflow guarantees absolute visual fidelity by bypassing Premiere's restrictive caption track system entirely. If you need to make a typo correction later, you simply open Aegisub to fix the incorrect word and re-export the transparent video.
You overwrite the old file on your hard drive, and Premiere automatically updates the linked media file on your timeline.
Apple Final Cut Pro Workarounds
FCPXML Translation
Apple Final Cut Pro refuses to read .ass files natively. The application relies almost entirely on the basic .srt format or its proprietary CEA-608 broadcast standard integration. If you edit in FCPX, you must use a translation layer to access these advanced features.
The primary approach involves converting the subtitle file into an FCPXML document format. Several utility applications on the Mac App Store perform this specific conversion by translating raw styling data into individual Final Cut Pro text generator clips.
This yields incredibly granular results. Your magnetic timeline fills with dozens of individual text clips. You can click on any isolated word, open the FCPX inspector, and apply native Apple Motion effects directly to the text.
Transparent ProRes Renders
If you want to avoid dealing with XML conversion utilities entirely, use the alpha channel method I previously described for Premiere Pro workflows. Render a transparent ProRes 4444 file using a dedicated tool like Aegisub or Subler.
Drop the transparent video file directly on top of your primary storyline. This remains the absolute fastest way to get creative preset animations into an FCPX project. You completely bypass spending twelve hours rebuilding the motion graphics from scratch in Apple Motion.
Chat-to-Edit: Pre-Formatting with the AI Agent
Rapid Command Execution
Before you hit the export button and spend your credits, you should finalize your text using our integrated AI Agent. The agent sits directly inside your dashboard and acts as a powerful chat-to-edit interface for your raw subtitle data.
You type a plain text command telling it to remove all filler words. The agent instantly scans the entire timeline and deletes every instance of "um" and "uh." It automatically ripples the timestamps to close the timing gaps.
You type, "Change the active word color to hex #FF5500." The agent updates the [V4+ Styles] block in the background immediately. You instruct it to capitalize every proper noun, and the server executes the modification across the entire script.
Bypassing Manual Adjustments
This conversational interface prevents you from having to do tedious find-and-replace operations in a text editor later. You let the artificial intelligence handle the bulk revisions.
You only touch the raw .ass file in your non-linear editor when you need to make highly specific, surgical adjustments for a demanding client. Review our guide on structuring advanced editing commands to speed up this phase.
A Concrete Example: Fixing Minute 45
Identifying the Typo
Let us look at a highly specific real-world scenario. You just ran a one-hour corporate podcast through our auto-clipping engine. You selected a five-minute segment discussing global financial markets and applied the viral pop styling preset before exporting the high-resolution video.
Your client reviews the MP4 deliverable. They find a massive contextual problem at the 4:12 mark of the clip. The speaker clearly said "fiscal," but the automatic transcription engine heard "physical."
The incorrect word remains on screen for exactly 600 milliseconds. If you only had a baked-in MP4 file, you would face a terrible workflow.
You would have to go back to the CapzAi web interface, edit the text string, and pay another batch of credits to re-render the file. You would wait ten minutes for the server to process the complex video encoding.
Executing the Code Edit
Because you possess the .ass file, your workflow changes completely. You open the text file in TextEdit on your Mac and hit CMD+F on your keyboard.
You search for the string "physical" and locate the exact event line in the code. It looks exactly like this:
Dialogue: 0,0:04:12.00,0:04:12.60,Default,,0,0,0,,{\k60}physical
You delete the word "physical" and type the word "fiscal." You hit CMD+S to save the text document.
You open your local editing software and drop the original raw camera footage onto the timeline. You drop the newly modified .ass file directly above it.
You render just that specific five-second section of the timeline to visually confirm the typographic fix. You export the final video directly from your machine.
The total time spent fixing the client error is under two minutes. You used zero server compute time while maintaining absolute technical control over the final video deliverable.
Agency Delivery Requirements
The Two-File Handoff
Video editing agencies face unique, constantly shifting client demands. A brand might want a video violently formatted for TikTok today. Tomorrow, they might want to use that exact same video asset on a conservative corporate landing page.
The viral pop captions driving massive engagement on social platforms look deeply unprofessional on a B2B enterprise sales page. When you deliver final production assets to your paying clients, you must always provide a strict two-file handoff.
You give them the fully baked .mp4 file for immediate social media distribution. You also give them a perfectly clean .mp4 file containing zero burned-in text, accompanied by the raw .ass file.
You explicitly explain the financial value of this modular package. You tell the client they can upload the clean video to their internal company portal and manually attach the subtitle file to the web player. Most modern enterprise video hosting platforms natively read these files and display the text cleanly over the video without permanently altering the source pixels.
Justifying Premium Retainers
This strategic approach justifies premium monthly retainers. You deliver a disposable social media asset alongside a highly modular, mathematically precise, future-proof video package.
The straightforward pay-on-export pricing model at CapzAi makes calculating this agency overhead incredibly easy. You know exactly what the transcription, the multilingual translation, the AI voice dubbing, and the final server rendering will cost upfront.
You simply build that baseline credit cost into your agency markup invoice. You deliver vastly superior files. Run a test batch through your CapzAi dashboard today and verify the resulting file structures.
Related articles
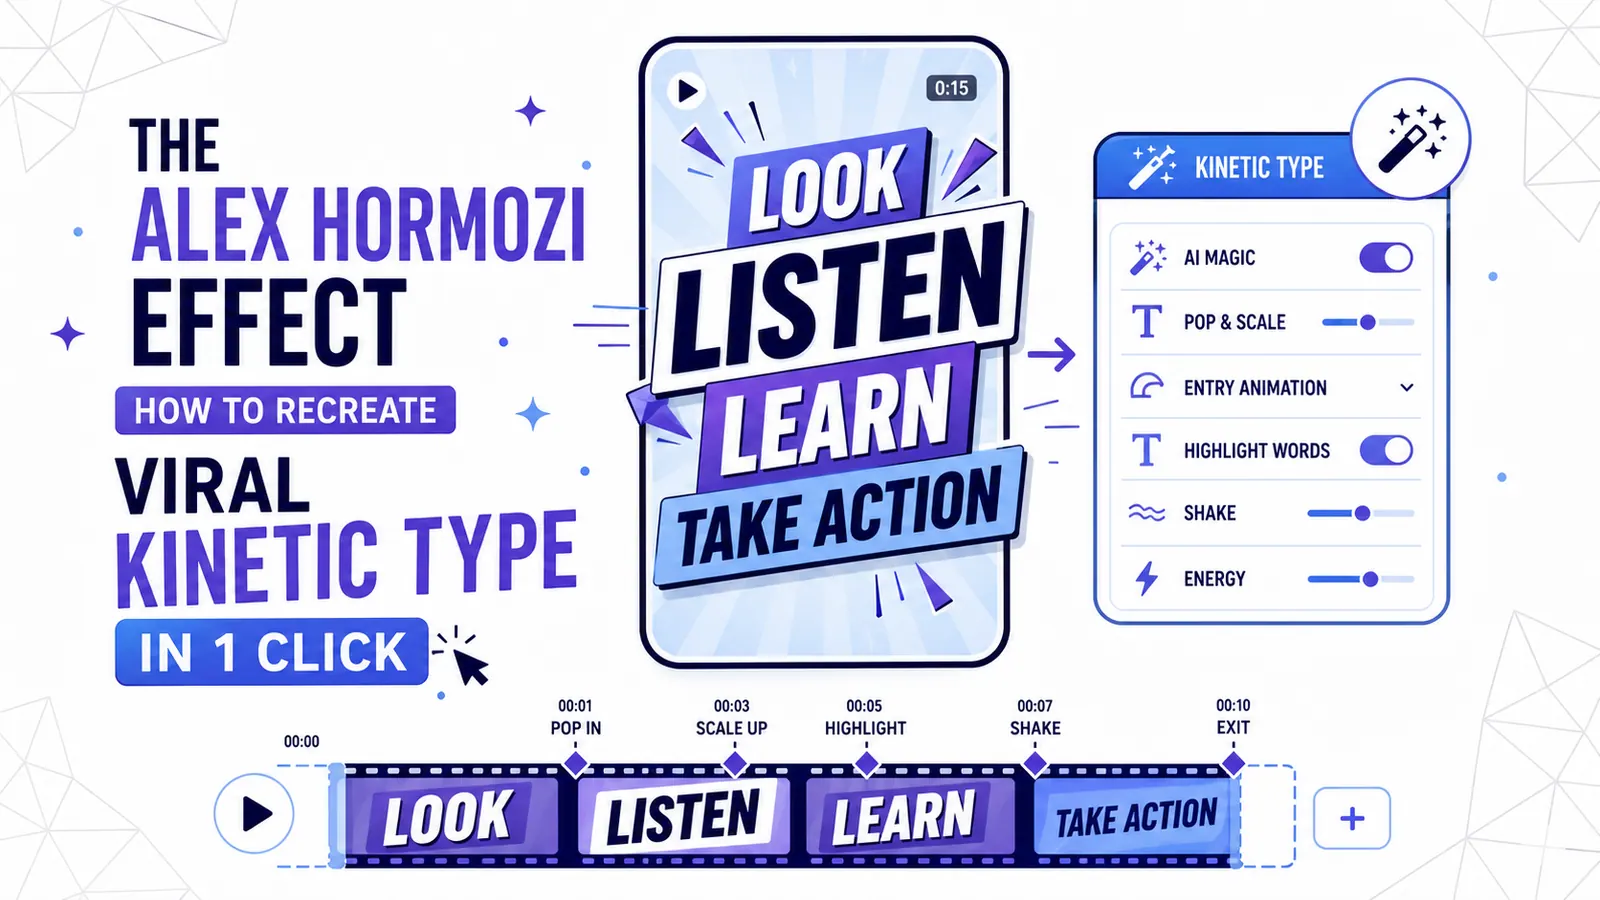
The Alex Hormozi Effect: How to Recreate Viral Kinetic Typography in 1 Click
The 'Hormozi Style' has become the gold standard for high-retention video. Discover the psychology behind kinetic typography and how to automate the look with AI.
Read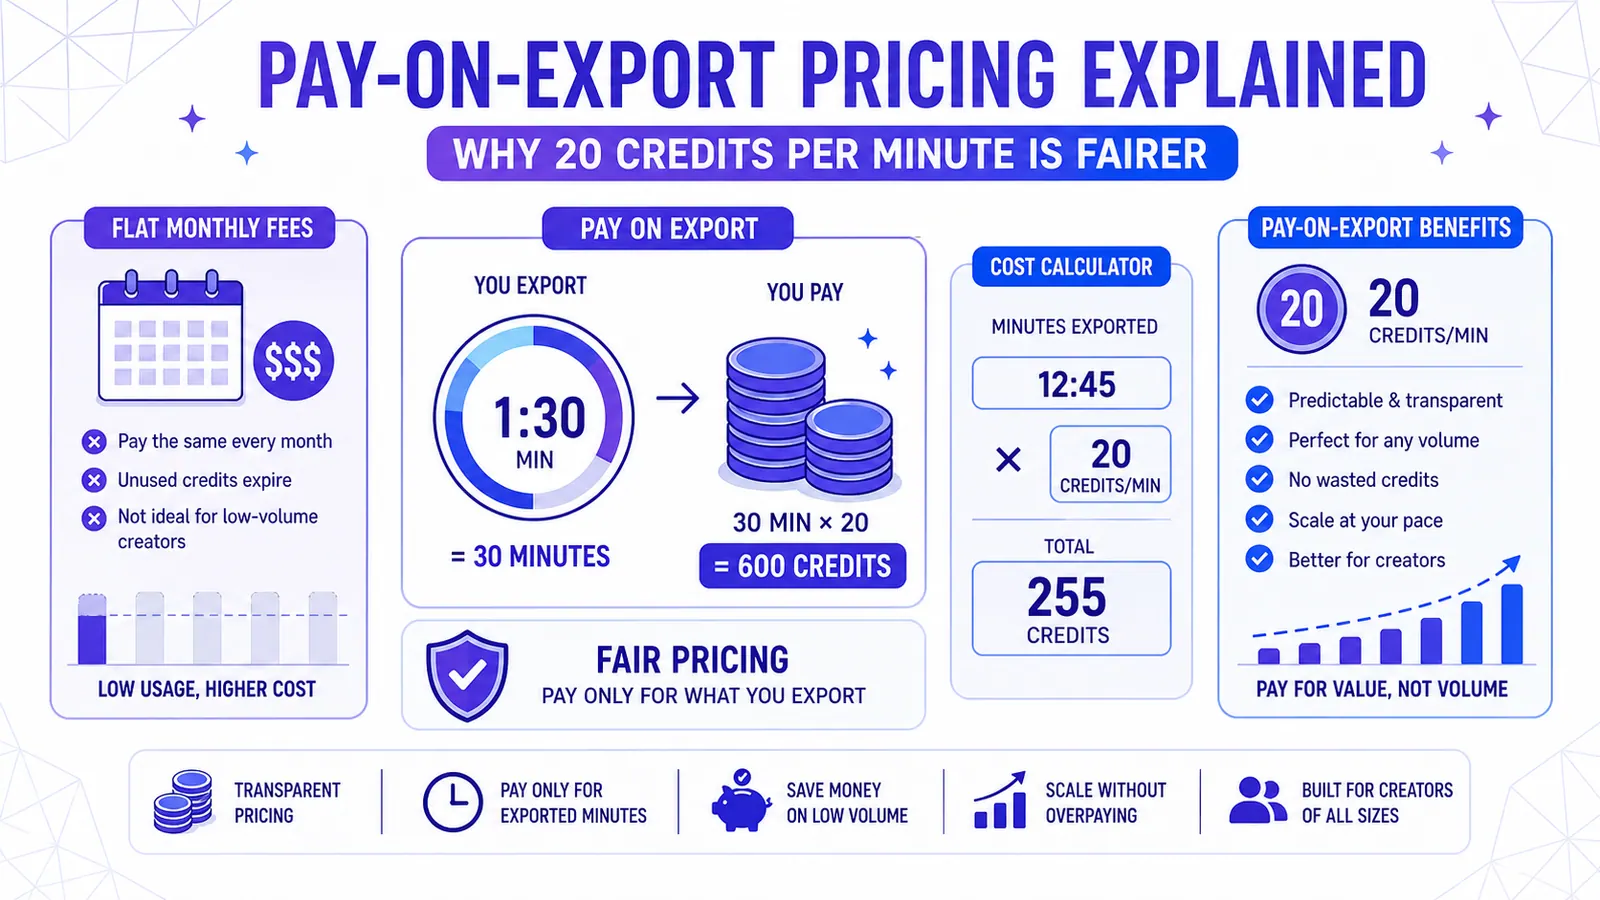
Pay-on-Export Pricing Explained — Why 20 Credits Per Minute Is Fairer
Flat monthly fees punish low-volume creators and restrict experimentation. CapzAi charges 20 credits per exported minute, making professional AI video tools affordable and predictable.
Read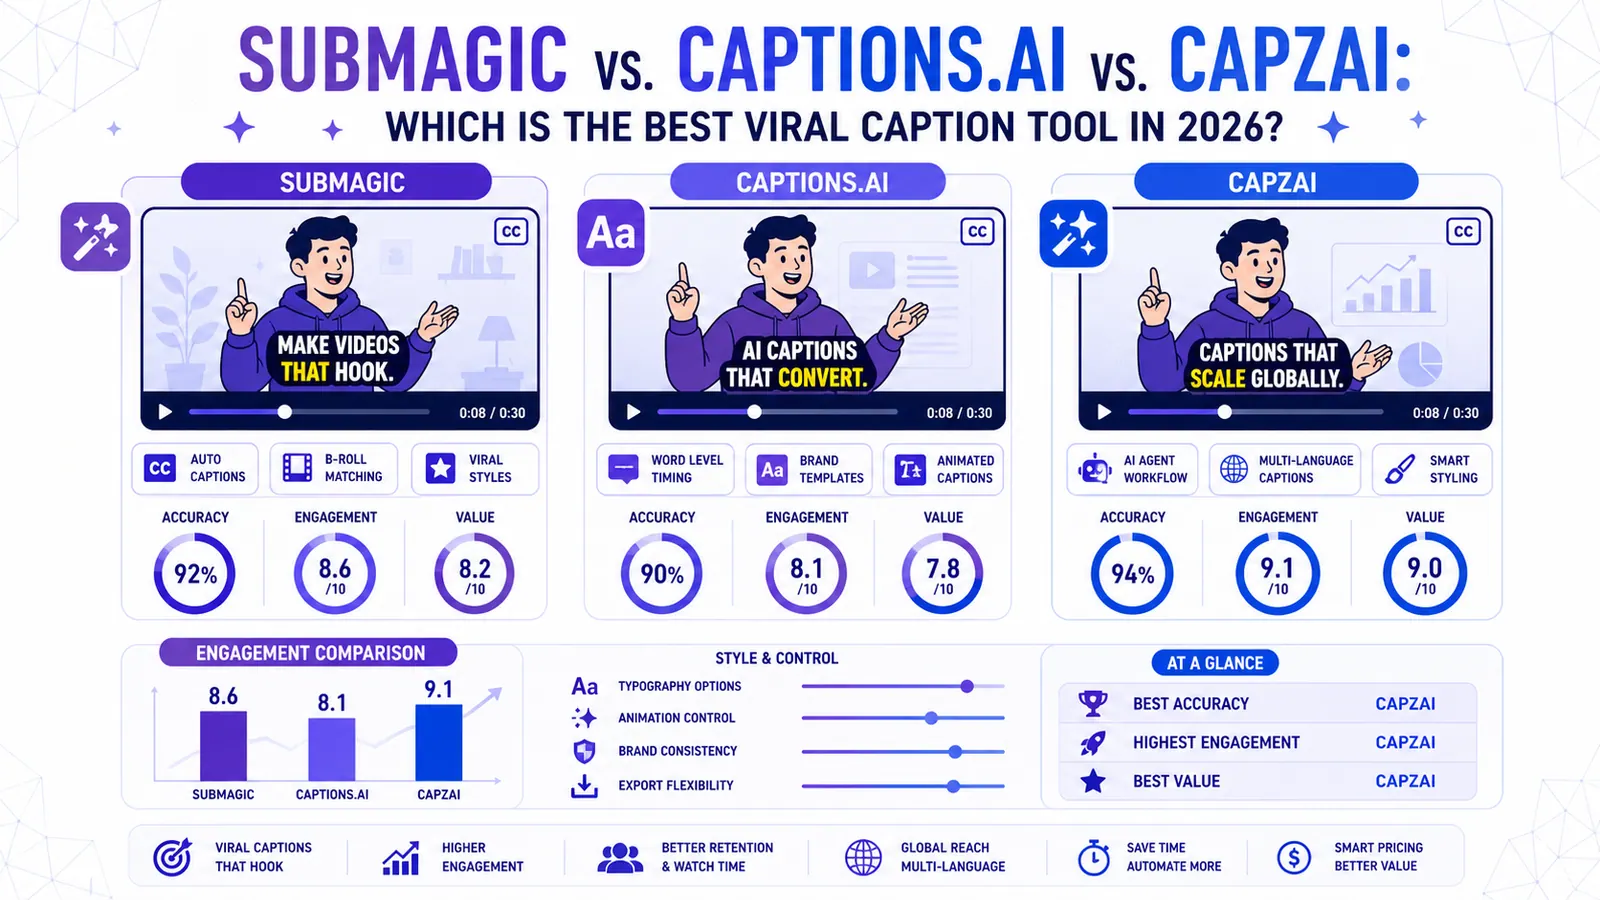
Submagic vs. Captions.ai vs. CapzAi: Which is the Best Viral Caption Tool in 2026?
We put the industry giants Submagic and Captions.ai head-to-head against CapzAi to see which AI captioning tool delivers the best engagement, accuracy, and value for creators.
Read